Tall and Skinny Shimmy…sounds like the kind of girl I’d like to be! The Soap Challenge Club is fun for soooo many reasons! Hehehe!
I particularly loved this month’s club challenge technique because it yields such beautifully stunning results that look terribly difficult but actually require rather minimal effort. Of course, there’s always something tricky; I mean, it is a challenge after all. And this time, it was keeping a nice thin trace throughout pouring the soap. Wait, I think I’ve said that before…? Yes? That thin trace thing seems to come up quite often!
Nature’s Garden Bite Me fragrance oil was my choice for this soap. It smells just like Zebra Stripes gum! (Does anyone remember that stuff, or is it just me???) This fruity, fun and bright fragrance makes me smile when I smell it and laugh when I read it. And you truly do want to BITE the soap! Plus I know it keeps a nice fluid soap for a while because I used it to make this previous challenge soap. My color palette included bright blue, purple, pink and orange, all micas from Mad Oils. They just scream happy!
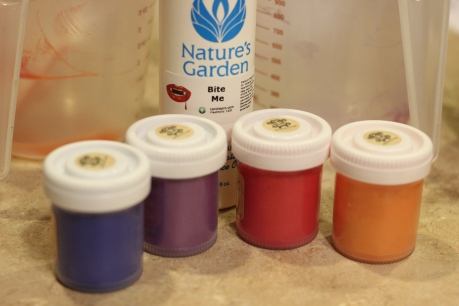
L.O.V.E. these micas from Mad Oils!!! And seriously, the fragrance name… Too funny!
Since it’s the Tall and Skinny Shimmy, we needed a tall skinny mold. Rather than making one from foam board like shown in the tutorial, I opted for using a thin flexible cutting mat. I can reuse it again and again by taping up the edges.
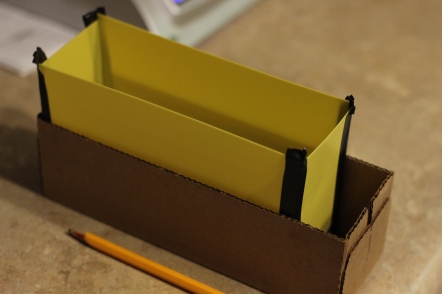
The bottom of a Velveeta box made the perfect hold-the-edges-in-place support base!
For this fun little soap, I blended up a slow-moving recipe at about 85 degrees and pulsed my stick blender three times. That’s it! Just three little pulses and a bit of stirring, and that batter was so lovely. I was totally a rebellious student and did not weigh out all of my soaps into cups to get even pours….I eyeballed it. I was going for a gradient look, so I began with blue mica, tilted my mold on the pencil, and only poured about 3/4 of that cup of soap into the mold.
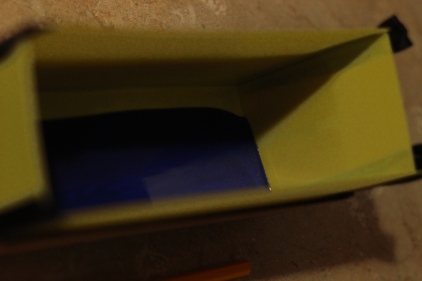
First pour
Then I added uncolored batter to that blue to make it lighter, tilted my mold the other way, and poured most of that soap in. I continued this routine of tilting and pouring most of the soap, then adding the next color with each of my micas from purple to pink to orange to get a little modified portion of the rainbow. I ended up with 8 different colors total.
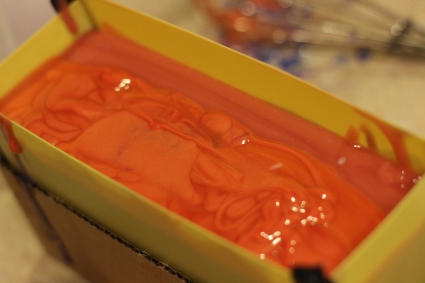
Final pour! (I totally got engrossed in mixing and pouring and forgot to take pictures of the other 6 pours… oops and sorry!)
The incredibly awesome part of this was that the soap stayed fluid for the ENTIRE process! Just at the end, you can see that the soap was getting into a slightly thicker trace.
Unmolding this baby was like unwrapping a Christmas present. First take off the tape, then peel the paper (or mold) away…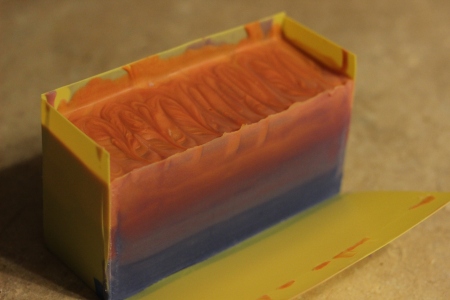
And TA-DA! A beautiful tall and skinny shimmy soap is revealed!
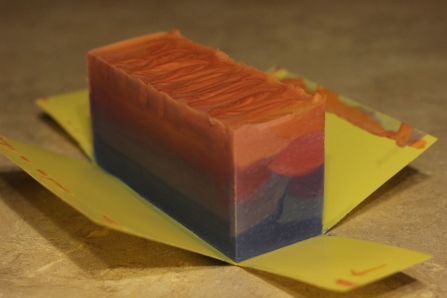
This simple little cutting mat mold peeled away from my soap so easily, too! Bonus score!
Now let’s cut it!
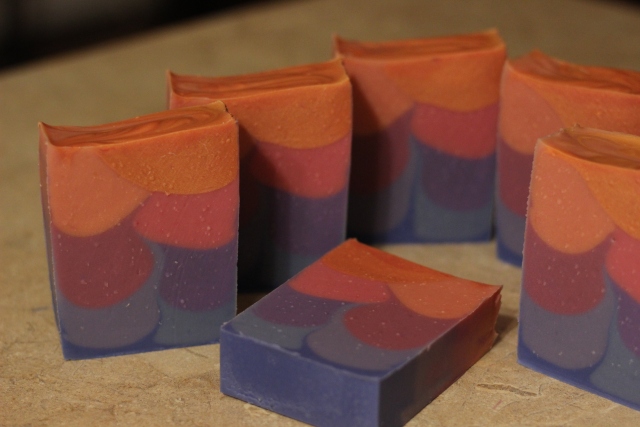
Yeah, yeah! I see a shimmy!
The only problem: air bubbles. The bane of my existence. Ugh. But still, I am so happy with these results!
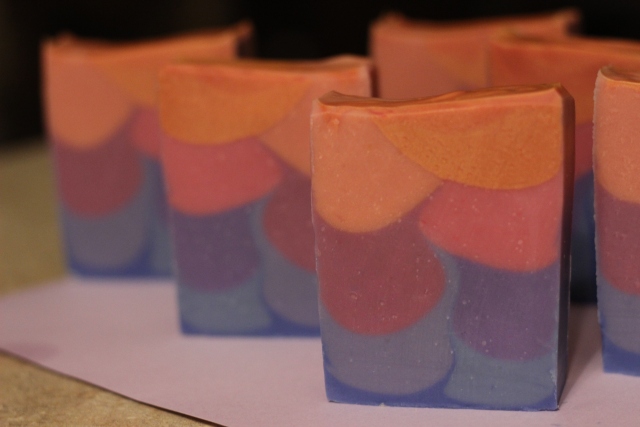
If you could smell this, you’d want to eat it. Seriously! It’s screaming, “Bite Me!”
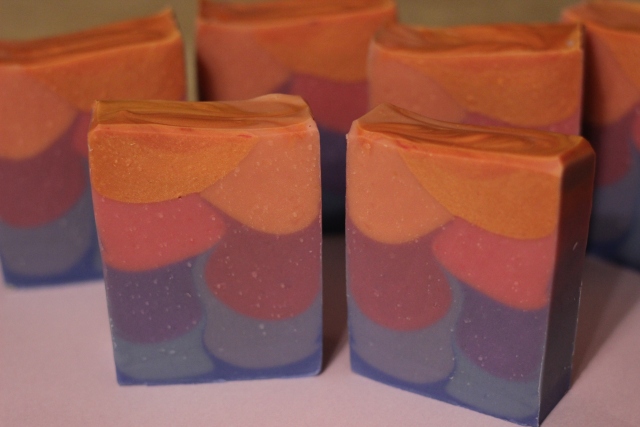
Not perfectly portioned, exactly right pours, but pretty darn good.
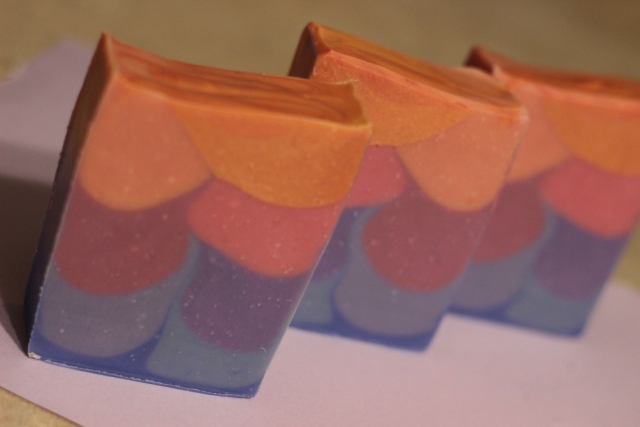
Bite Me, Tall and Skinny Shimmy. (This just sounds so mean! I don’t mean it that way, OK? Haha!)
Like always, I had so much fun in this challenge. I’ll definitely be using this technique in the future. I’m certain the other soapers in the challenge are going to produce awesome soaps! I can’t wait to see all of the lovely creations! Thank you again, Amy, for putting us all together! And thank you, Tatiana, for a great tutorial this month!
LOVE your idea of using the cutting mats for the mold – recreating the mold each time was one of the biggest time sucks for me with this challenge (and I had to do it a few times until I got that trace right!).
Great solution (and lovely soap)!
Thanks, but this wasn’t my original idea so I can’t take the credit! I saw it on a Facebook group or a YouTube video or something one time! I had some extra dollar store cutting mats laying around, but no foam board, so I figured it wouldn’t hurt to try it out! I’ll be able to reuse this mat mold no problem. 🙂
Beautiful, well done! Great choice of colors too, congrats ?
Thanks, Yvonne!
Wow! Did you just nail this one on your first try? I’m so jealous! Great idea for the mold too. I hope it yields many more beautiful tall & skinny shimmies for you! 🙂
It’s amazing that I can answer YES this time! The stars must have aligned just right that night. 😉 Haha! I’m excited to get busy with more shimmies, now. There are so many great soaps in the link-up that inspired me!!
So pretty! <3
Thanks, Natalia! 🙂
You’re kidding, that was only one try?? Unbelievable!! I am so envious of your serious soaping skills. It turned out magnificent!
Thank you for the kind compliment. But, seriously, I’m just as surprised as you! A good slow moving recipe and fragrance are magical!! And hard to find!
How cool that you nailed it on your first try! Beautiful colors and great shimmy, lovely soap! Good, good luck!!!
Thank you so much! 🙂